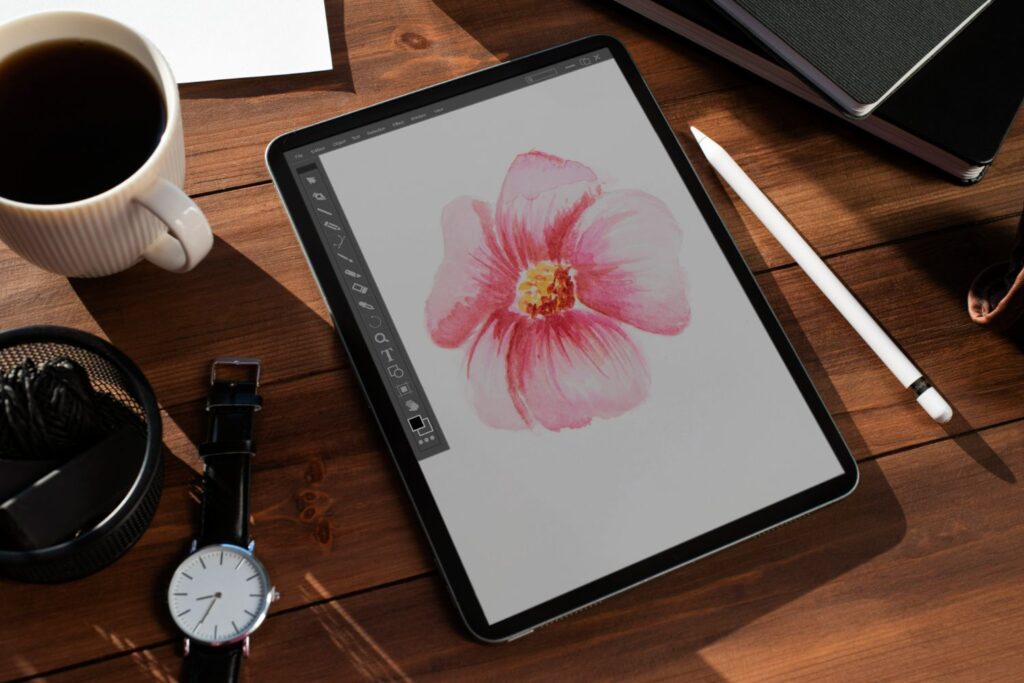
Digital art creation has never been easier and more enjoyable, thanks to the incredible app Procreate. A crucial aspect of mastering the program involves understanding how to ungroup layers and manage them effectively. With this knowledge, you’ll be able to create intricate, layered designs while maintaining a user-friendly workflow. In this article, we’ll explore various tutorials to help you achieve just that.
1. Grouping and Ungrouping Layers for Calligraphy

This comprehensive tutorial, presented by Loveleigh Loops, dives into the process of grouping and ungrouping layers in Procreate, specifically focusing on digital calligraphy. Starting with the basics, you’ll learn how to group, ungroup, and edit existing groups to refine your calligraphy art.
Throughout the video, the presenters do an excellent job explaining each step, making it easy for anyone, regardless of their experience level, to follow along. By the end of the tutorial, you’ll have gained the knowledge and confidence needed to create stunning digital calligraphy using layer management techniques in Procreate.
Loveleigh Loops are recognized for their high-quality Procreate tutorials and resources, as well as their beginner-friendly approach to teaching.
Common Mistakes and How to Avoid Them
When learning to ungroup in Procreate, there are some common pitfalls to watch out for. For example, you may accidentally merge layers, making it challenging to separate them again. To avoid this mistake, make sure you’ve selected your target layers, double-checking before proceeding to any grouping or ungrouping process. Additionally, practice checking your layers periodically as you work, moving and organizing them according to your workflow for better control and organization.
2. Emergency Solutions for Accidentally Merged Layers
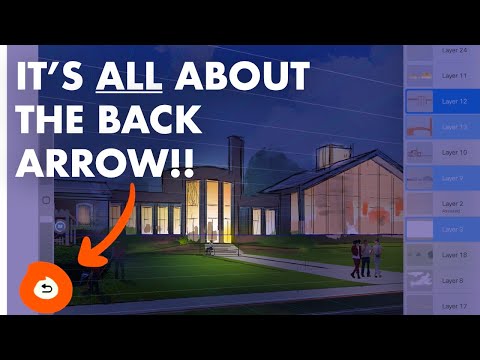
In this helpful tutorial by iPad For Architects, you’ll learn how to recover from accidentally merged layers in Procreate. The presenter demonstrates how using the “back arrow” can save your work when layers become lost or merged unintentionally.
This concise and well-explained video is an essential watch for any digital artist using Procreate, offering valuable insights on how to troubleshoot issues with layer mergers. With this tutorial under your belt, you’ll feel more at ease navigating Procreate, knowing how to recover from these hiccups and continue creating uninterrupted.
By following iPad For Architects, you’ll always stay up-to-date on the latest Procreate tips and tricks to help your digital workflow.
3. Exploring Symmetry in Procreate

In this exciting Procreate tutorial from Loveleigh Loops, learn how to use symmetry for unique and interesting digital calligraphy and art projects
pieces. The video covers topics such as enabling symmetry and utilizing its various settings, including horizontal, vertical, quadrant, radial, mirrored, and rotational.
This quick and to-the-point tutorial is perfect for those seeking to expand their Procreate skills and explore new creative techniques. By mastering symmetry in Procreate, you can elevate your digital art to another level and produce distinctive compositions.
For more educational content, follow Loveleigh Loops as they consistently provide helpful calligraphy resources and beginner-friendly Procreate tutorials.
4. Creating Multi-Layer Animations with Layer Groups

This comprehensive tutorial by SkrblyDigital demonstrates how to use layer groups to create multi-layer animations in Procreate. By guiding you step-by-step through the process, this video enables you to bring your animations to life with multiple layers in each frame using groups efficiently.
Whether you’re a beginner or an experienced Procreate user, this tutorial is useful for artists who want to expand their digital art practices by incorporating animations into their creations.
SkrblyDigital is well-known for their thorough and easy-to-follow tutorials, making learning Procreate an enjoyable experience.
5. Mastering Blend Modes in Procreate

In this engaging Procreate tutorial, Loveleigh Loops once again shares their expertise, this time focusing on blend modes and brushes. Throughout the video, they delve into various blending techniques, allowing you to enhance your Procreate projects by combining colors and textures smoothly and effectively.
This tutorial is suitable for artists of all skill levels, acting as both a valuable introduction to blending modes for novices and a great refresher for more experienced users. This knowledge will enable you to take your digital art and calligraphy projects to new heights by leveraging Procreate’s blend modes and brushes to their fullest potential.
To ensure you stay up-to-date with the latest Procreate techniques and resources, follow Loveleigh Loops on YouTube.
Conclusion
By exploring these tutorials and mastering the art of ungrouping in Procreate, you’ll greatly enhance your digital art skills and streamline your dynamic creative process. Utilizing layer management techniques, symmetry, blend modes, and multi-layer animations will unlock new possibilities in your art and design projects. So, why not start experimenting and let your creativity flourish with the help of these excellent tutorials?