Introduction
Exporting from Procreate for print may seem like a daunting task at first. Whether you’re a novice digital artist just starting on your journey or an experienced artist transitioning into digital art, the process can indeed be confusing. However, with the right knowledge and a bit of practice, you’ll find it to be quite a straightforward process. So, let’s dive in and unravel the mystery of how to export from Procreate for print.
Understanding Procreate
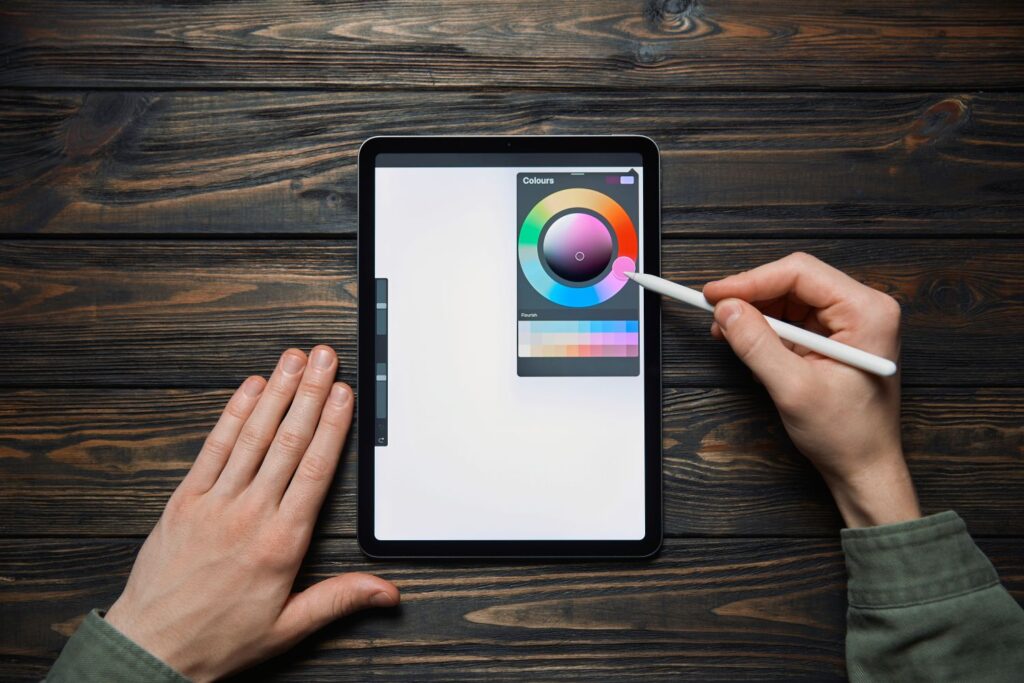
Before we delve into the how-to of exporting, it’s crucial to understand the tool at our disposal – Procreate. Procreate is an exclusive iPad app that artists worldwide use to create intricate, detailed works of art.
Why Procreate?
One might ask why choose Procreate when there are multiple digital painting tools out there? Well, Procreate offers high-resolution canvases, hundreds of intricate brushes, an intuitive interface, and superior performance. It’s purposely built to utilize the iPad’s capabilities to provide the best creative experience to artists.
Understanding the Export Process
Exporting your digital art essentially means transforming your work into a format that can be easily understood and reproduced by printing hardware. This process involves a series of steps that include adjusting the right settings, selecting the correct exporting dimensions, ensuring appropriate pixel density (DPI), and choosing a suitable file format.
Setting Up Your Artwork for Export
The process of exporting starts when you first create a new canvas in Procreate. The choices you make here, particularly the canvas size and DPI, profoundly impact the outcome of your print. Larger canvases and higher DPI provide better image quality, but they also eat up more processing power and storage.
Exporting Your Artwork
Once your piece is ready, you can begin the actual exporting process. Procreate offers many file types for you to export your artwork, including JPEG, PNG, PSD, TIFF, among others. The one you should select depends on the specific application of your print.
Comparing Different Export Options
Now let’s compare the various options you have when exporting your Procreate art for print. Understanding these choices will help you make an informed decision based on your unique circumstances.
JPEG vs. PNG vs. TIFF
These formats are some of the most common for exporting digital art and especially suitable for printing.
JPEG is a commonly used method of lossy compression for digital images, particularly for those images produced by digital photography. A significant advantage of JPEG is its balance between compression and image quality. When exporting as JPEG, your artwork is flattened, and layers are not preserved.
PNG format, on the other hand, provides lossless compression and is preferred for line drawings, text, and iconic graphics at a small file size. It also supports transparency and a full-color palette.
TIFF is a flexible raster image format supported by virtually all paint, image-editing, and page-layout applications. It is suitable for handling images and data within a single file. The drawback is that TIFF files can be large and take longer to print.
Mastering the DPI
One crucial aspect of exporting your art for print is understanding and correctly using DPI or dots per inch. DPI refers to the number of dots a printer can place in one inch of a material. In Procreate, the number of pixels your canvas holds horizontally and vertically defines your DPI. Higher DPI means more details in the physical print but also results in larger file sizes.
Preparing Your Artwork for Different Uses
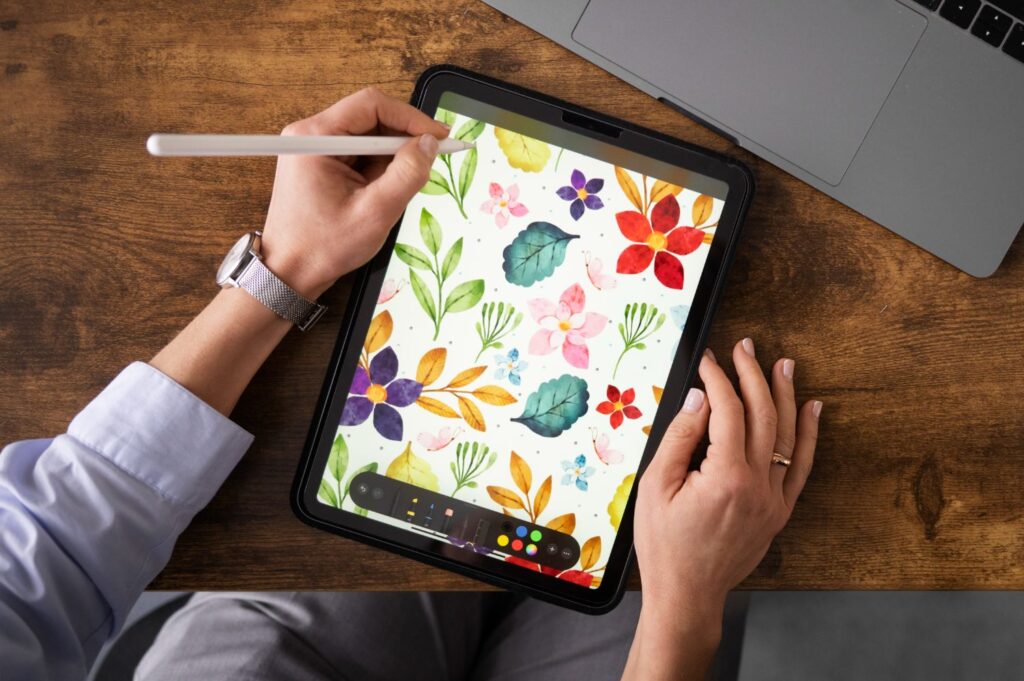
Depending on where your artwork will end up, be it a t-shirt, a poster, or an art book, you will need to prepare it differently.
Exporting for Personal Use
If you intend to print the artwork for personal use, such as printing it out for wall art at home, you might want to save it as a high-quality JPEG. This format provides a nice blend of high image quality and manageable file size.
Exporting for Commercial Use
If the purpose is to use your work commercially, then PSD could be a better option. PSD files preserve layers, which allows for more flexibility and alterations down the line. It’s the best choice when working in a team where your artwork may undergo further editing or adjustments.
Conclusion
Exporting your Procreate artwork for print is an essential skill as a digital artist. While the process can be meticulous and may require a keen eye for detail, it is the key to making sure your pieces print perfectly. By understanding your tools and export options, preparing your canvas, and picking the appropriate DPI and file format, you can master the art of exporting from Procreate for print. And remember, practice is the path to perfection.
FAQs
1. Why is my Procreate artwork blurry when I export it?
Blurriness can result from exporting at too low a resolution or selecting the wrong export format. It’s recommended to work on a large canvas and keep the DPI high for the best results.
2. What is the best DPI for Procreate?
While Procreate supports up to 600 DPI, a DPI of 300 is usually suitable for most prints.
3. How do I avoid pixelation in Procreate?
Work on a larger canvas, limit the resizing of your artwork, especially enlarging, and maintain high DPI.
4. What file format should I use for Printing?
The best format depends on the intended use of the print. JPEGs are good for personal use, while PSD files are better for commercial use due to their layer preservation.
5. Do I need to export my artwork differently for different print materials?
Yes, different materials may require different DPI settings and file formats for the best results.