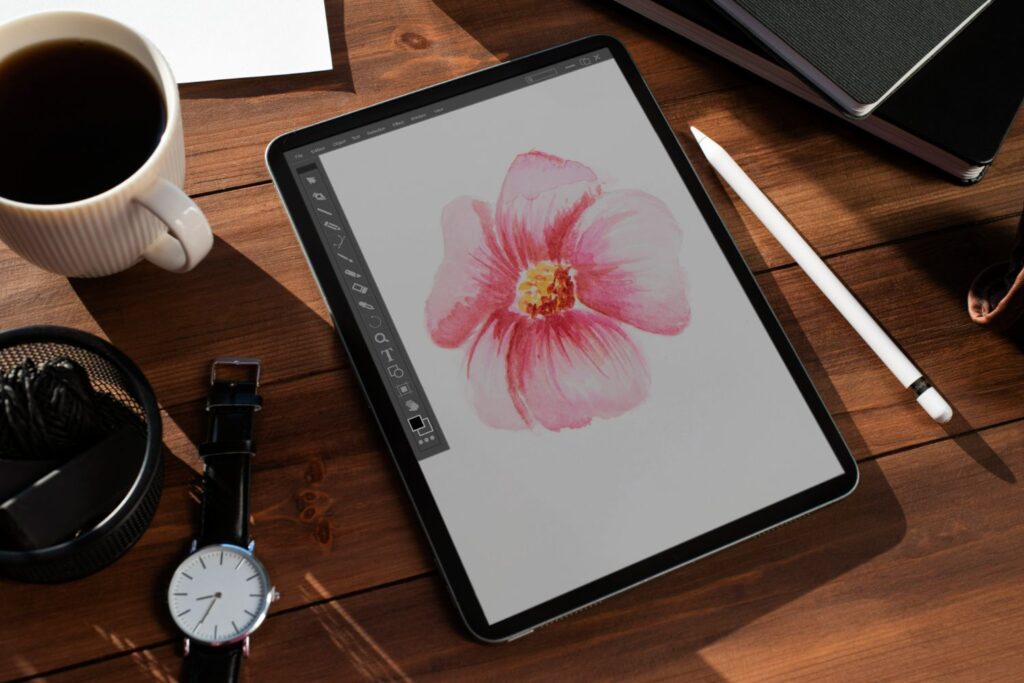
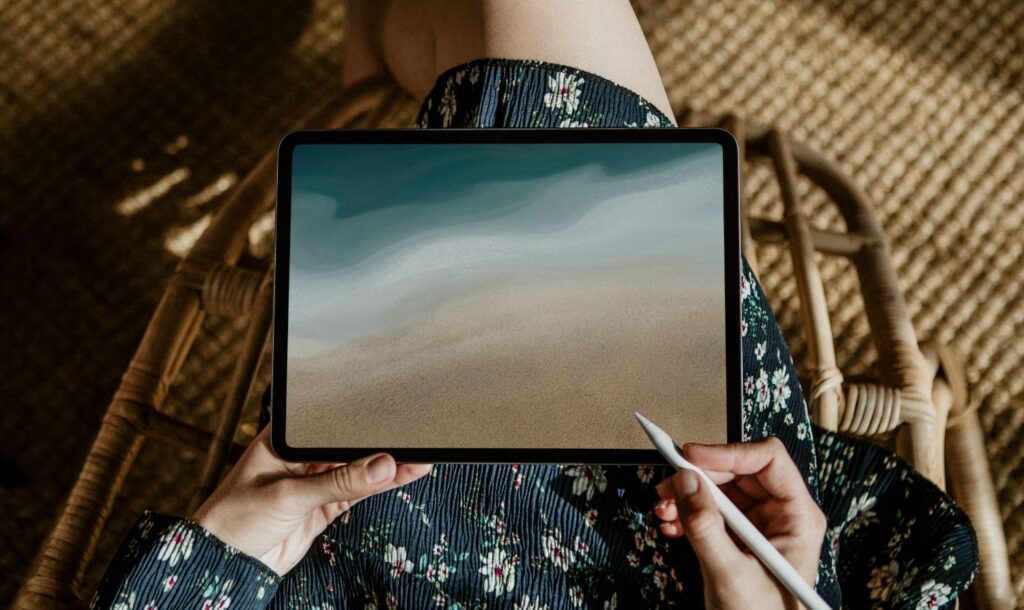
In this article, we will explore the world of noise brushes in Procreate. Noise brushes are essential tools for adding texture and depth to your digital art. We’ve gathered five excellent video tutorials that cover different aspects of creating and using noise brushes in Procreate. Whether you’re a beginner or an experienced artist, these videos will help you master the art of noise brushes in Procreate. So, let’s dive in!
1. Creating a Grain Shader Brush in Procreate
This video tutorial by Make This Brush demonstrates how to create an incredible grain shader brush in just a few minutes. The author starts by showing you the settings to use in the brush engine and how to import the perfect grain source image. As the tutorial progresses, the author explains how the various brush settings can affect the look and feel of the texture, giving you complete control over the final result. With this brush, your artwork will come to life with depth and interest, enhancing your digital art experience.
Common mistakes when creating a grain shader brush in Procreate include using a low-resolution grain source image, which can result in pixelated textures, and not experimenting with different settings in the brush engine. It’s essential to explore various options to find the perfect combination that works for you and your art style. So, don’t be afraid to play around with the settings!
2. Exploring the Grain Feature in Procreate Brush Studio
In this tutorial by Procreate, you’ll learn all about the Grain feature in Procreate’s Brush Studio. The video is part of Procreate’s Learn to Procreate series, which covers essential features and workflows in detail. This particular tutorial focuses on the Grain settings and how they affect the texture and appearance of brushes in Procreate. The author also discusses different grain sources and their impact on brushes, helping you understand how to select the best grain source for your needs.
Some common mistakes when working with the Grain feature in Procreate include using default settings without customizing them, which can result in a less interesting and unique brush. Additionally, not experimenting with various grain sources can limit your brush’s potential. So, always try different grain sources to find the one that best suits your art style and preferences.
3. How to Create Texture Brushes in Procreate
In this comprehensive tutorial by luma_llama, you’ll learn how to create your own texture brushes from scratch in Procreate. The author walks you through every step of the process, from capturing texture samples with your iPad camerato editing those samples and using them to create unique brushes in Procreate. This tutorial covers essential tips and techniques that will help you create an array of customized texture brushes that can be used to enhance your artwork.
Common mistakes when creating texture brushes in Procreate include not refining your texture sample before using it as a brush, which can lead to poorly defined textures, and not experimenting with various brush settings to achieve different effects. It’s essential to spend time refining your texture samples and adjusting brush settings in Procreate to create brushes that cater to your art style and workflow.
4. Procreate Tutorial: Creating a Dotwork Brush
This video tutorial by Chris Bintt, a professional tattoo artist, guides you through the process of creating a custom dotwork brush in Procreate. Dotwork brushes are particularly useful for designing tattoos that use repeating patterns. The tutorial focuses on the crucial settings for creating a precise and consistent dotwork brush, helping you save time and effort in your design process.
Common mistakes when creating a dotwork brush in Procreate include not setting the spacing correctly, which can result in inconsistent or uneven dot patterns, and not thoroughly testing the brush on various canvas sizes to ensure that it works well across different design contexts. To avoid these mistakes, carefully adjust the brush settings and test your new dotwork brush on a variety of canvases.
5. Grain and Noise Texture for Illustrations in Procreate
In this tutorial by Lunacoste, you’ll learn how to create grain and noise textures for flat character illustrations in Procreate. The author demonstrates the entire process of designing a flat character and adding grain and noise to various elements of the illustration. The tutorial highlights the importance of using textures to add depth and interest to your flat character designs, taking your digital art to a new level.
Common mistakes when adding grain and noise textures to illustrations in Procreate include overdoing the effect, which can result in a cluttered appearance, and not considering the overall composition and balance of the illustration when applying textures. To avoid these issues, use textures sparingly and strategically to enhance your illustrations without overpowering them.
Conclusion
Creating and using noise brushes in Procreate is an essential skill for digital artists looking to add depth and interest to their artwork. The video tutorials in this article cover various aspects of noise brushes, from creating custom brushes from scratch to applying textures to flat character designs. The key to mastering noise brushes in Procreate is experimentation. Don’t be afraid to try different settings, grain sources, and techniques to discover what works best for your art style and workflow. So, fire up Procreate, and start exploring the world of noise brushes today!


