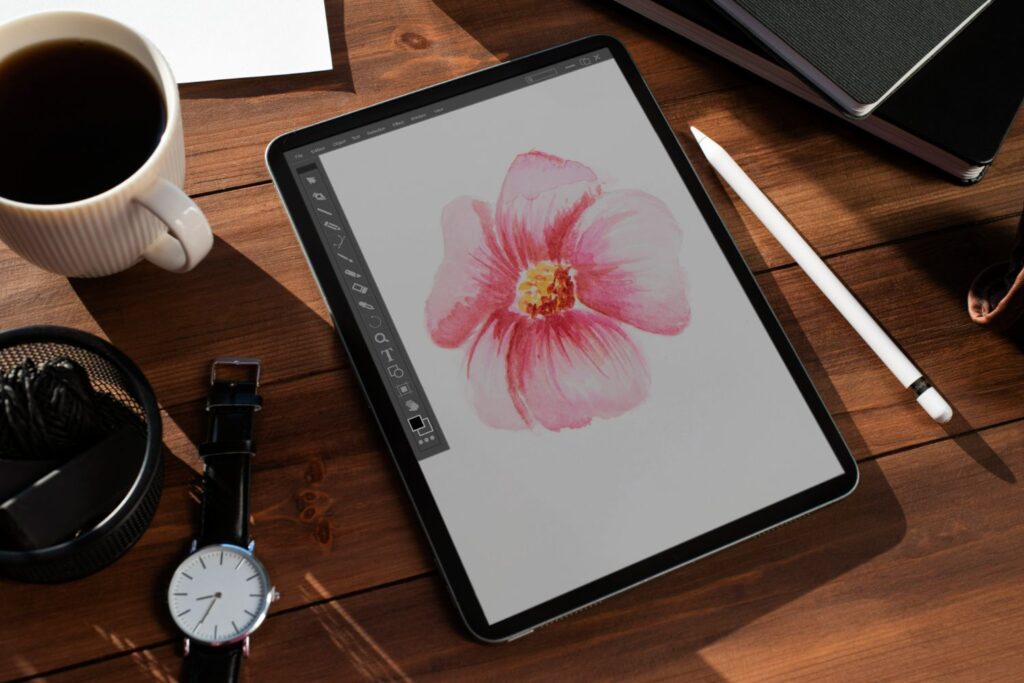
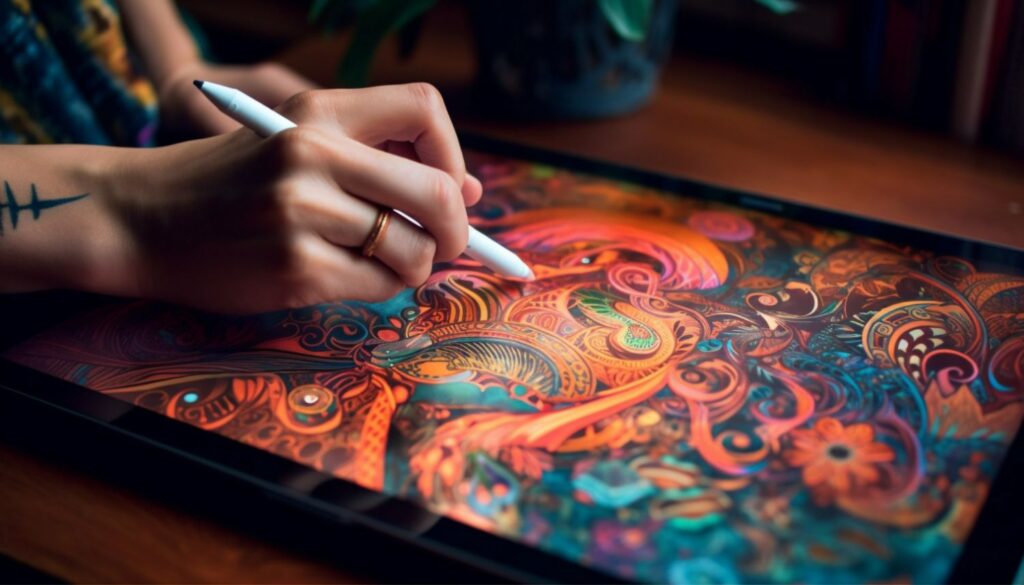
Welcome to our comprehensive guide on mastering vector art creation on your iPad using Procreate! In this article, we have curated a list of insightful videos that will help you learn how to create high-quality vector graphics on your device. From rough sketches to flawless vector art, these tutorials cover all aspects you need to know when working with Procreate on your iPad. Let’s dive in!
1. Turning Rough Sketches into Vector Graphics with Procreate

In this video tutorial by TheVectorLab, you’ll learn the fundamentals of converting rough Procreate drawings into clean and crisp vector art. This step-by-step guide demonstrates the entire process, from sketching to finalizing the vector design, without requiring a desktop computer. Watch and learn as the author showcases various tools and techniques that will help you achieve professional vector results directly on your iPad.
The author, TheVectorLab, is an experienced graphic designer with a YouTube channel dedicated to providing tutorials and resources for aspiring artists. Don’t forget to check out their channel for more valuable content here: TheVectorLab.
2. Vectorizing Procreate Art Using Only an iPad

This video by Premo offers an in-depth tutorial on how to vectorize your Procreate artwork using only an iPad Pro. Walk through the entire process, including tips for optimizing your design for vectorization and the use of other apps for seamless integration. Please note that this video is a few years old, and an updated version is available on the author’s channel, which we also recommend checking out.
Give credit to Premo, the video’s creator, by visiting their YouTube channel and exploring more of their content here: Premodesignco.
3. Why Your Lines Look Bad in Procreate and How to Fix Them

Ghost Paper’s video tutorial addresses a common issue many Procreate users encounter – bad-looking lines in their artwork. In this video, you will learn the reasons behind the problem and discover practical tips to improve line quality in your Procreate projects. With the right techniques, you can make your lines look professional and your art more polished.
Show your support for Ghost Paper, the creator of this informative video, by visiting their YouTube channel here: ghostpaper.
4. Quick Tutorial: From Procreate to Vector Art

DefShogun’s quick tutorial demonstrates the process of converting line art created in Procreate into a vector image. This easy-to-follow guide
walks you through the entire process, making it simple for artists of all skill levels to grasp. Learn how to use specific brushes, such as the luminescent Light Pen and Fading Edge, to further refine your art before converting it into a vector image.
DefShogun, the talented artist behind this video, has a variety of other helpful content on their YouTube channel, which you can visit here: Defshogun.
5. Converting Drawings into Vector Graphics with Illustrator and Procreate

In this tutorial by TheVectorLab, you’ll learn how to convert your hand-drawn sketches into vector graphics using both Procreate and Adobe Illustrator. This video provides an in-depth look at the entire workflow, showcasing tips and tricks to optimize your drawings for vectorization and importing them into Adobe Illustrator for further refinement.
As mentioned earlier, TheVectorLab is a reputable source for graphic design tutorials and resources. Be sure to check out their YouTube channel for more valuable content here: TheVectorLab.
Common Mistakes and How to Avoid Them
When working with vector art in Procreate, some common mistakes can hinder the quality of your final product. Here’s a list of pitfalls to avoid and tips to ensure the best possible outcome:
- Using inappropriate brushes: Ensure you use suitable brushes when creating your art, especially if you plan to convert it into a vector image later. Brushes with sharp edges and clean lines generally produce better results.
- Not optimizing your artwork for vectorization: Before converting your art into a vector image, refine the lines and shapes to make the vectorizing process smoother and more accurate.
- Rushing the process: Quality work takes time and patience. Don’t be in a hurry to convert your sketch into a vector image. Spend adequate time refining your art and fine-tuning the details.
- Ignoring line quality: Bad lines can ruin your art, so always endeavor to fix any imperfections before converting it to a vector image.
Conclusion
Creating vector art on your iPad using Procreate has never been easier, thanks to the wealth of resources and tutorials available to help guide you through the process. By following the techniques and tips provided by the talented artists featured in this article, you will soon be on your way to producing stunning vector artwork directly on your iPad. Remember to practice, be patient, and learn from the experts to continue improving your vector art skills in Procreate.